You can only choose one equipment per class.
 Description: You only get 1 cookable frag grenade. You can "cook" a grenade by holding down the throw button and waiting for a while. After you throw it, the grenade will explode much faster and that way you have a better chance of killing someone. Frags can easily bounce and roll downhill.
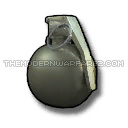
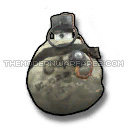 Description: You get 1 Semtex grenade. It can't be cooked like a frag grenade and the throwing distance is much shorter. Semtex grenades have a blinking red light and a loud beeping sound, which increase as it's about to explode.
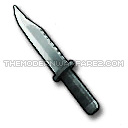 Description: You only get 1 knife, but it's a one-hit kill, if it hits. Hold down the throw button to get an aiming reticule, after that release the button to throw the knife.
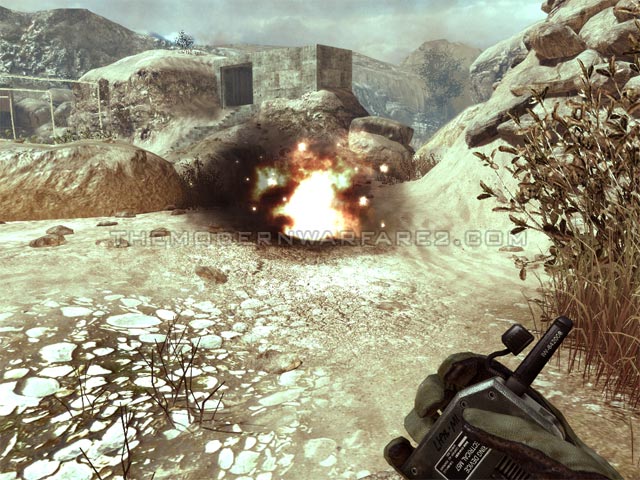
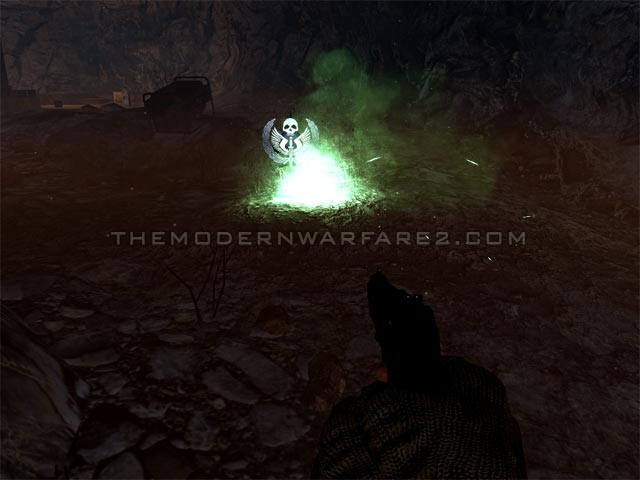
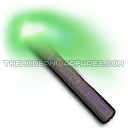 Description: Light the flare and drop it on the ground. When you die, you will respawn next to the flare, which will disappear, so remember to use another one. Tactical Insertions can be picked up and used on another spot.
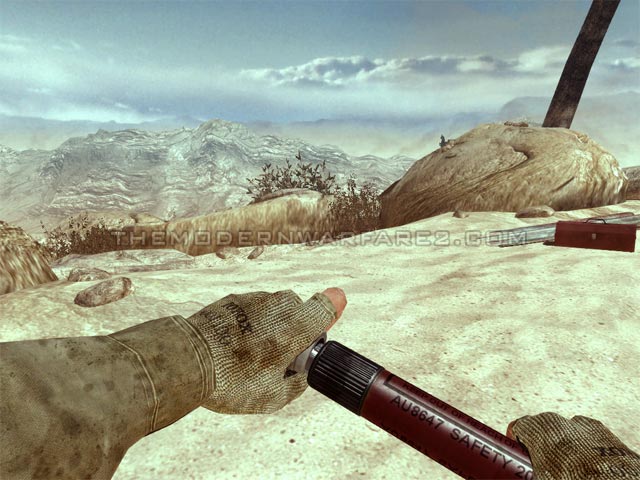
 Description: Reduces explosive damage to 65%, thus ensuring high survivability. This can be equipped as pleased, but it only protects you when it's on. Combined with the Riot Shield, you can survive almost everything head-on.
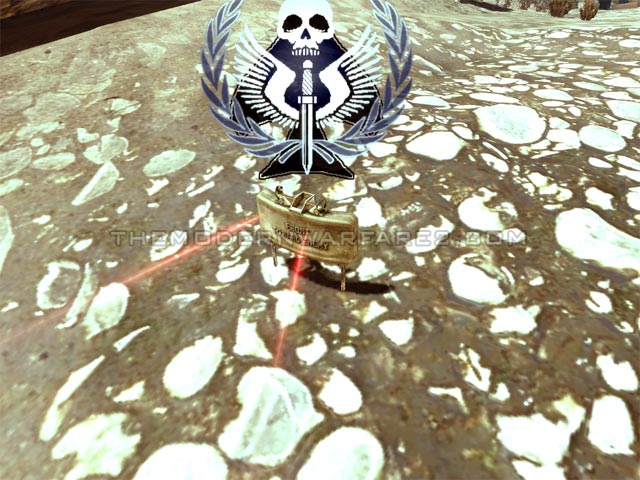
 Description: You get 1 proximity activated explosive mine. The claymore activates after detecting an enemy and there is a 0.75 second delay before detonation, which you can be increased to 3 seconds with the Scrambler Pro perk.
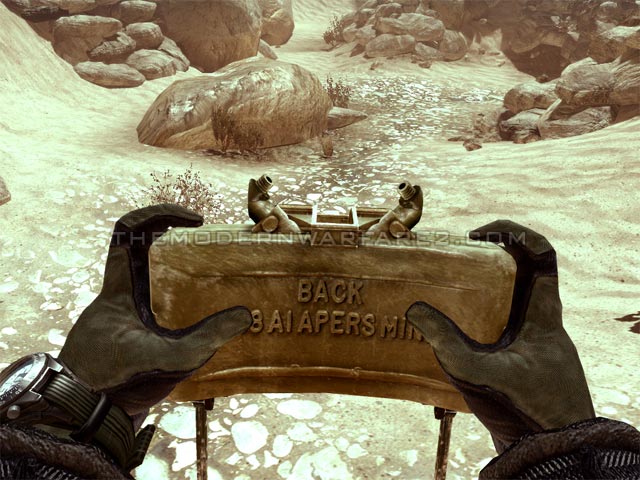
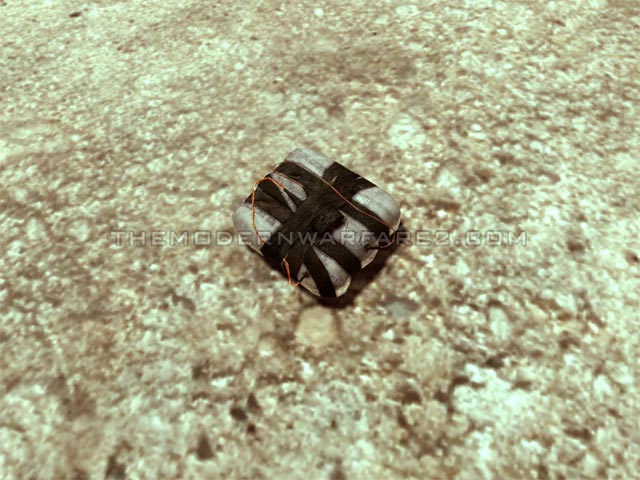
 Description: You get one C4 explosive. Using this is pretty straight forward: throw the satchel on the ground and blow it up by pressing the same button.